Use this sub-section of Administration to set up automatic data export to your FTP server.
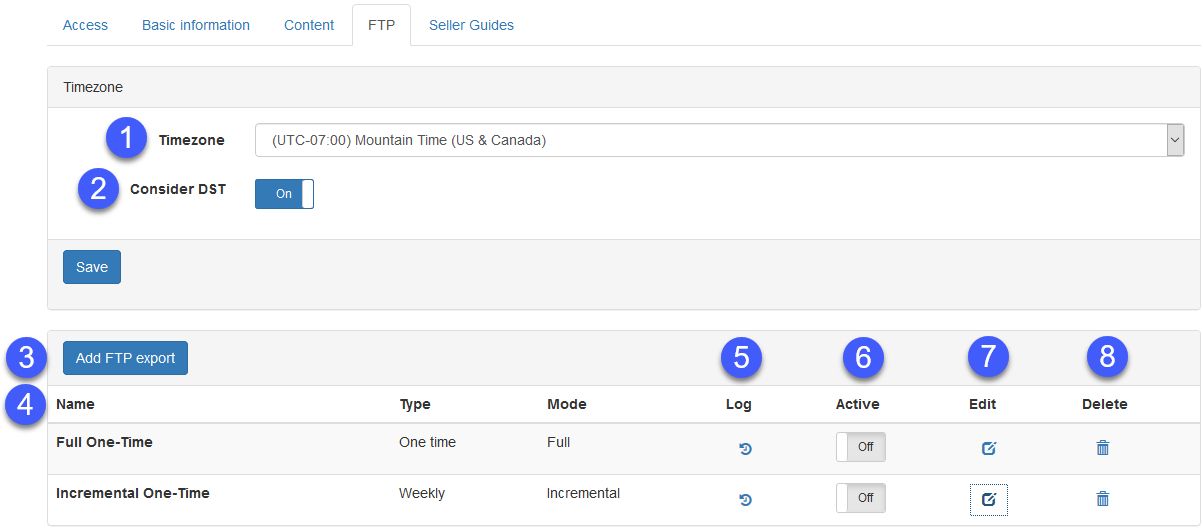
1)Time zone: Use the drop-down menu to select your time zone.
2)Consider DST: Adjust the time in case the daylight saving time is applicable.
3)Add ftp export: Set up the export details. See bellow for more information.
4)List of created export profiles.
5)Log: Click on the icon to see the log of exports that have been performed.
6)Active: Turn the export on/off.
7)Edit: Edit the existing export profile. Opens the same dialog as when creating a new export profile.
8)Delete: Delete the export profile.
Adding/editing FTP profiles
When adding or editing FTP export profiles, the following window opens:
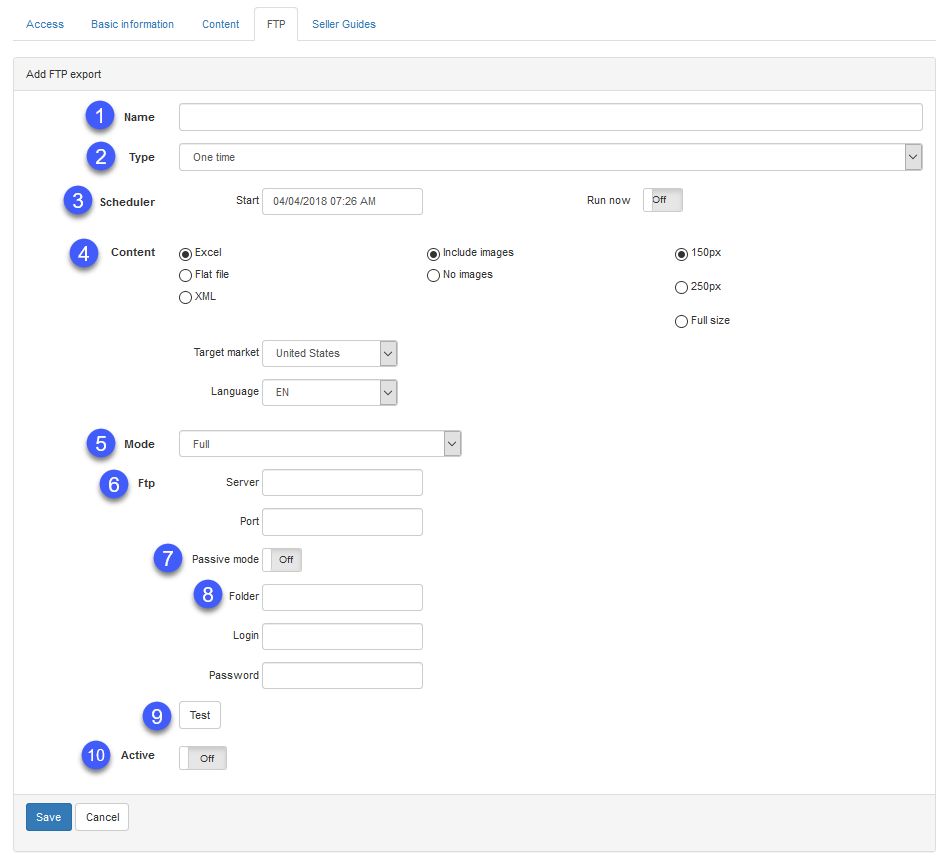
1)Name: Enter the name of the profile.
2)Type: Select the frequency at which the export will be performed (one time, daily, weekly or monthly).
3)Scheduler: This section changes according to the Type selected in the previous step. Select when to perform the export (date or now) for one time export; select the start date and recurrence for daily export; select the start date, recurrence and specific days of a week for weekly export; select start date, months and specific days for monthly export.
4)Content: Define the export file type, the target market and the data language. For more information, please see chapter Downloading Product Data.
5)Mode: Select if you want to export all data (full mode) or only the new data (incremental mode).
6)FTP: Enter your FTP server address and port.
7)Passive mode: Enable passive FTP mode. In this mode the server determines which port should be used for the data channel.
8)Select the FTP folder and provide the login details.
9)Test: Run a test export to check the connection.
10)Active: Enable/disable the export profile.