Using the Master data section, you can manage selection lists and units used across all templates from one place.
Selection lists
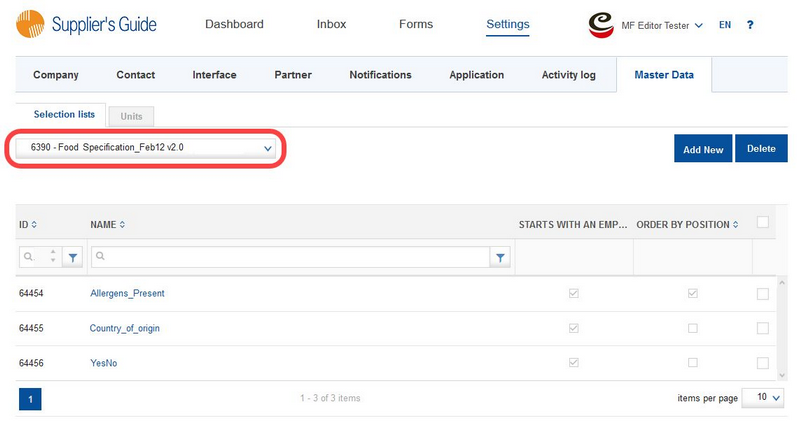
Under Selection lists, you can find a drop-down menu with all draft templates. Select one to see what selection lists it contains. Only editable forms in status Draft are available.
You can edit individual selection lists by clicking on their title in column Name. This will take you to the standard selection list editing dialogue. Click on Add New to create a new selection list. Provide the name of the selection list and define the available options, their order, and link them to their respective counterparts in SpecPDM (if applicable). The changes you make will be applied only to the template you have selected. E.g. if you are using one selection list in multiple templates and you add a new option to this selection list in one of them, this option will not be added to the same selection list used in the other templates.
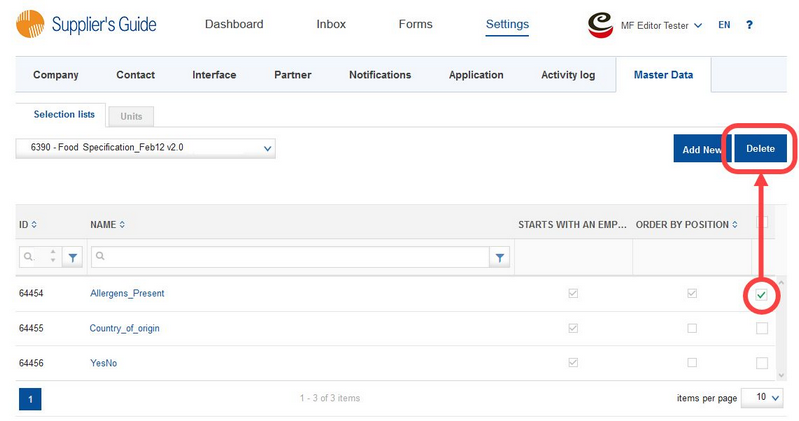
To delete selection lists, use the checkboxes on the right to select those you want to delete or use the checkbox at the top to select all, click Delete and confirm.
For more information how to create and configure selection lists, see article Portal From the Issuer's Perspective/Forms/Templates/Master Form Editor/Working with Selection Lists.
Units
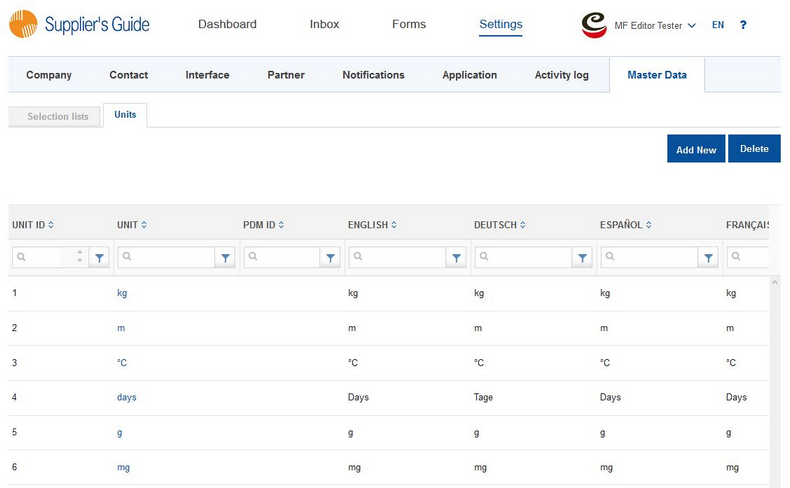
Under Units, you can find the list of all currently available units.
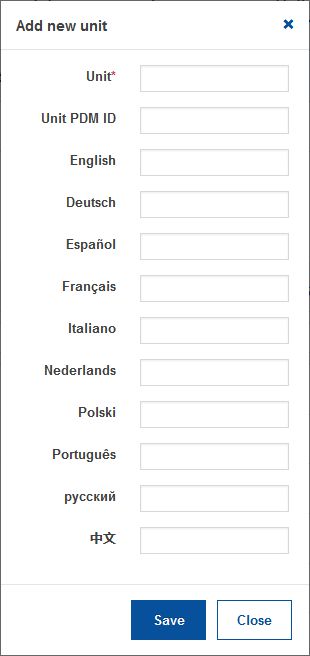
You can edit the existing units by clicking on their name in column Unit or click on Add New to insert additional units. Provide the name of the unit (mandatory), its ID in SpecPDM (if applicable) and translation in the supported languages. Then save the record.
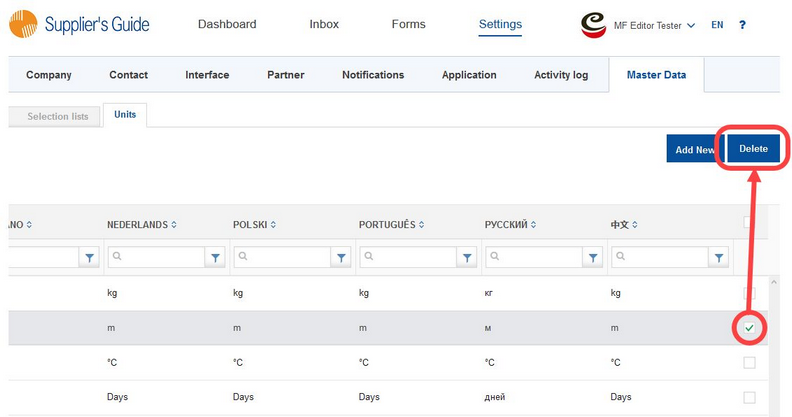
To remove units from the list, select the units you want to remove by using the checkboxes on the right side of the dialog (you may need to scroll right to see them). Use the checkbox at the top to select all. Then click Delete and confirm.
