The Master Form Editor allows you to:
•Manage selection lists
•Edit selection list items
•Assign a selection list to a selection list field
Managing selection lists
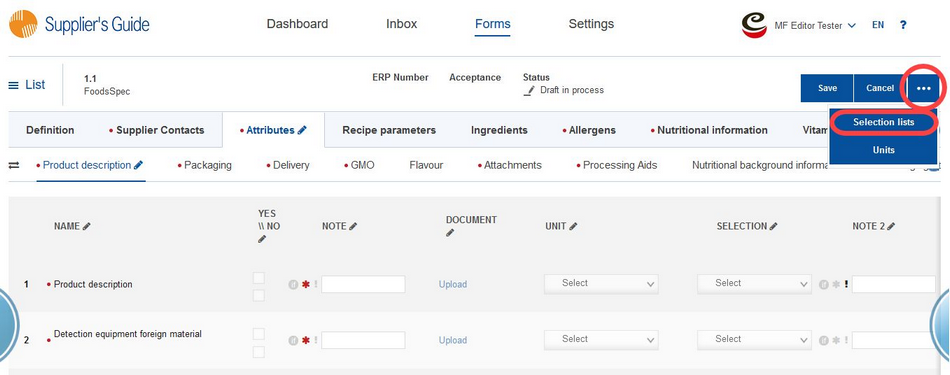
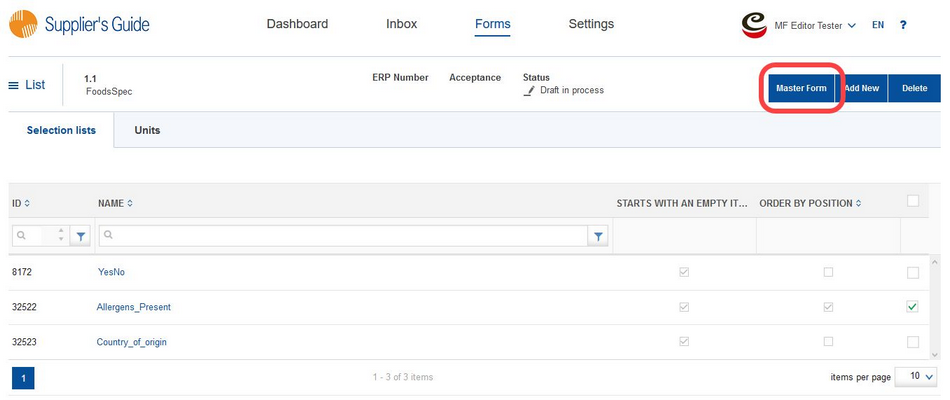
To add, delete or edit selection lists available in your form, click on the blue button with three dots in the upper corner of the screen.
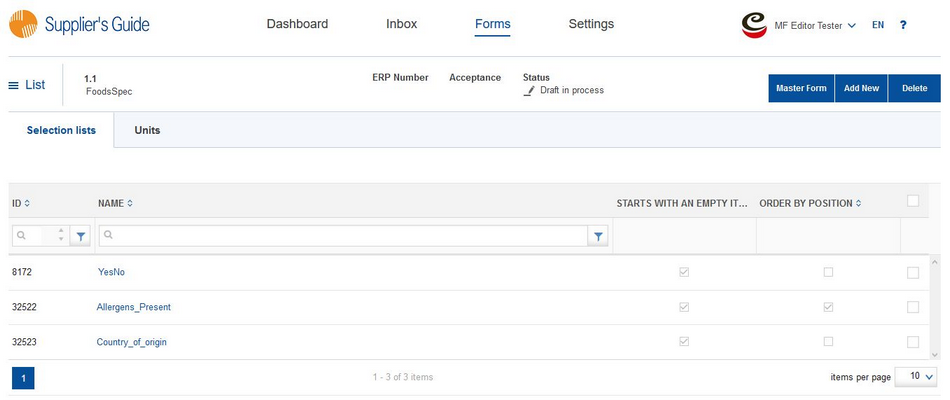
You will see the list of selection lists available in your master form. To edit them, click on their title in column Name. For more information, see the Editing selection list items section of this article.
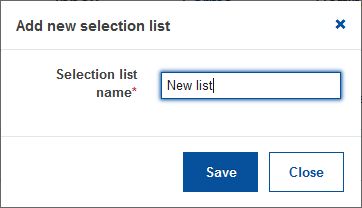
Click on the Add New button to create a new selection list. Provide the name for the new list and click Save. Then add items to and configure this new selection list. For more information, see the Editing selection list items section of this article.
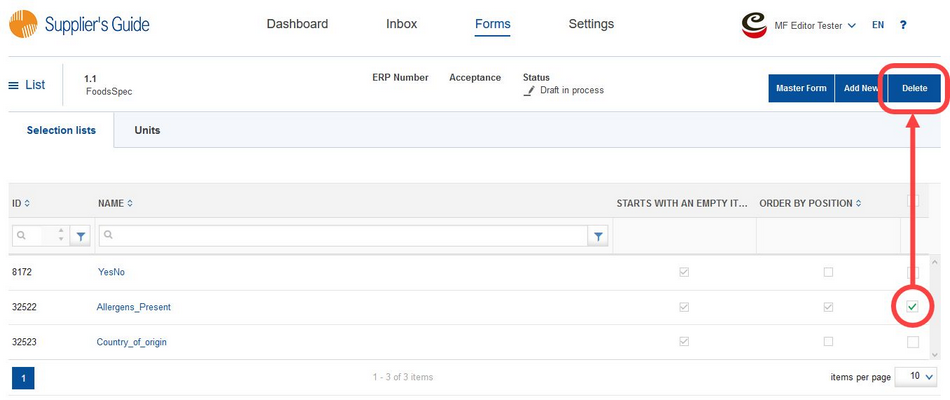
To delete selection lists, use the checkboxes on the right to select those you want to delete or use the checkbox at the top to select all, click Delete and confirm.
To return back to your form, click on the Master form button.
All selection lists sorted by the master forms they are used in can be found under Settings/Master data/Selection lists.
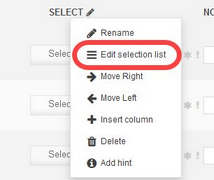
To add selection list items or to edit existing items, right-click on the name of the column that contains the list. Then choose Edit selection list.
Choose the selection list you want to edit.
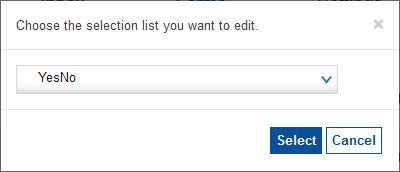
The selection list opens in the editing mode. It contains the following options:
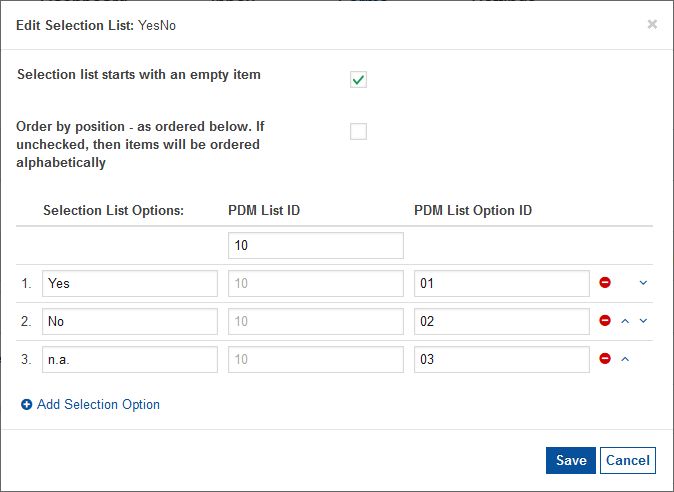
•Selection list starts with an empty item: The selection list will not have any pre-selected (i.e. default) option. When not checked, the section list will by default contain the first option according to the applied sorting (custom or alphabetical).
•Order by position: When selected, the options will be sorted in the order set by the user (indicated by the row number). When not selected, the options will be sorted alphabetically.
•Selection List Options: Enter the individual selection list options.
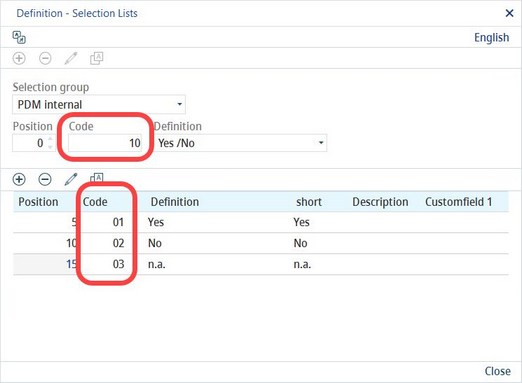
•PDM List ID: Link the entire selection list to SpecPDM if applicable. Use the selection list PDM ID available under Administration/General/Products/Selection lists and enter it in the field at the top. All the remaining fields will contain the same ID as they belong to the same selection list.
•PDM List Option ID: Link individual selection list options to SpecPDM if applicable. Use the option PDM IDs available under Administration/General/Products/Selection lists. Each option has its unique PDM ID.
•![]() : Delete option.
: Delete option.
•![]() : Move option upwards/downwards. In case the alphabetical sorting is applied (see above) the order is ignored.
: Move option upwards/downwards. In case the alphabetical sorting is applied (see above) the order is ignored.
•Add Selection Option: Add an empty line for an additional option.
Assigning a selection list to a criterion field
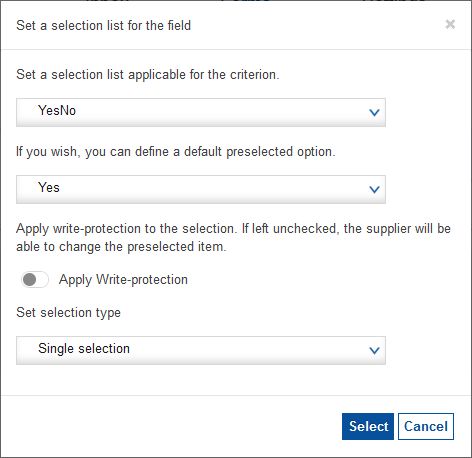
If the Selection field is enabled, the user is automatically prompted to define the selection list. To define a selection list for a field, click on the dots:
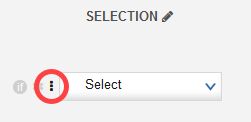
Select the selection list type and if needed, set one of the selection list options to be preselected in the form. Chose whether the vendor will be able to select single or multiple options from the list. You can also apply write protection.
