For detailed information regarding the Reporting function, please refer to the Reporting section of the manual.
Specifically for the Project module, project managers can use the Reporting tool to view all information relating to time, i.e. the dates for the project's activities. The user can choose to filter dates based on time spans of their choosing.
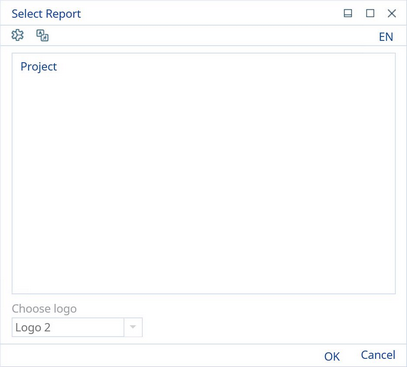
To generate this report, click on the ![]() icon. It will open a new dialog; choose "Project" as the type of report.
icon. It will open a new dialog; choose "Project" as the type of report.
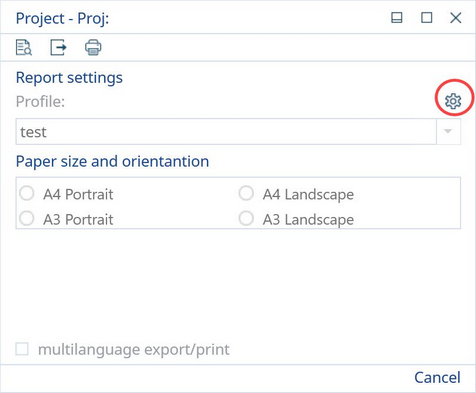
Click the button titled Other section settings.
In the new dialog, choose your desired settings for your profile as described in Reporting. To filter for dates, use the following steps:
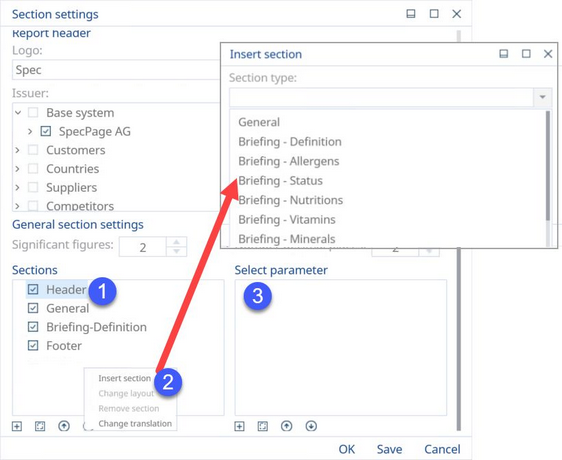
1)In the Sections box, click on the attribute titled Result.
2)If you do not have this in your list of available options, right-click and select Insert section. A new dialog will open where you can choose the section type and create a name for it. Once you have completed all the fields and a new section is inserted, follow what is written in step 1.
3)In the Select Parameter box, place a check mark beside Activity filter. You will be able to filter between project statuses: on-hold, not started, ongoing, and completed. Within these statuses, you can also choose the time span of the dates you wish to display on your report.
You can either choose to save this setting to your template for future use or save it temporarily for the current use. Click "OK" to be prompted with your save options and then click "Preview" in the new window to generate your report with the new dates that you have chosen.


