Main Window Functions
|
Reporting: Print reports via SQL-report. |
|
Excel: Export data into an Excel sheet. Creating an Excel export always means a potential risk to the company because the file can be stolen. For this reason, SpecPDM creates a server log with all exports for tracking purposes. |
|
Refresh: Reload data object. |
|
Save: Save data object. |
|
Cancel: Cancel action. |
Quick access toolbar
![]()
|
Window options (e.g. minimize, maximize, move, etc.). |
|
Execute the search using your preferences. |
|
Deletes the profile selected in field Selection (number 2 from the main description). |
|
Assign search to an existing user. |
|
Scheduled notifications. |
|
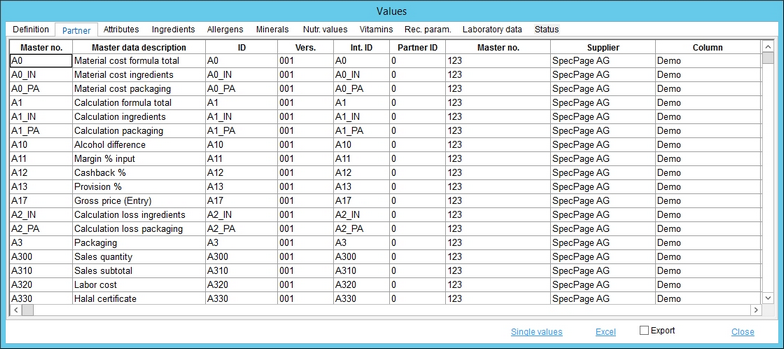
Display values/parameters of the results. Select the checkbox next to the icon to display the values automatically with each search performed. |
Once the Values dialog is displayed, you can choose to view all values (located at the bottom of the window). A complex overview with tabs corresponding to the tabs of the respective module will be displayed. The additional Export checkbox produces a technical Excel export with values, more text options, or tolerances separated by pipe characters. An export with the all values option selected produces an Excel output with all criteria per result record. The query results must be written cell by cell into Excel, which may take some time.
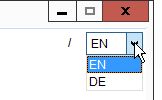
Language Selection
Use the drop-down list in the right corner to switch the language of the data objects used in this dialog. This change does not affect the user language (interface) which can be changed via Administration/General/User → field Interface language.

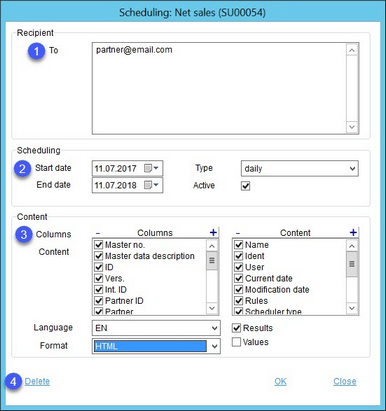
Scheduling
1.Recipient: The E-mail addresses of selected recipients (separated by a comma or semicolon).
2.Scheduling: Start and end date assignment plus frequency. Select Active to activate the schedule.
3.Content: (depends on which of the search types is selected).
Columns: Select what kind of data will be included in the scheduled report.
Content: Activate/deactivate the content.
Language: Select the language of the report.
Format: Select the file format of the report.
You can also decide to include results, values, or both into the search report.
4.Delete: Delete the created scheduling definition.
OK: Save the settings and run the report.
Close: Leave the dialog without saving the settings.
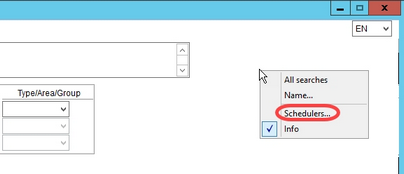
You can review the scheduling settings when you right-click the top of the screen and select Schedulers.
In this dialog, you can also delete entries.


