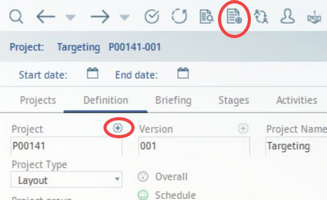
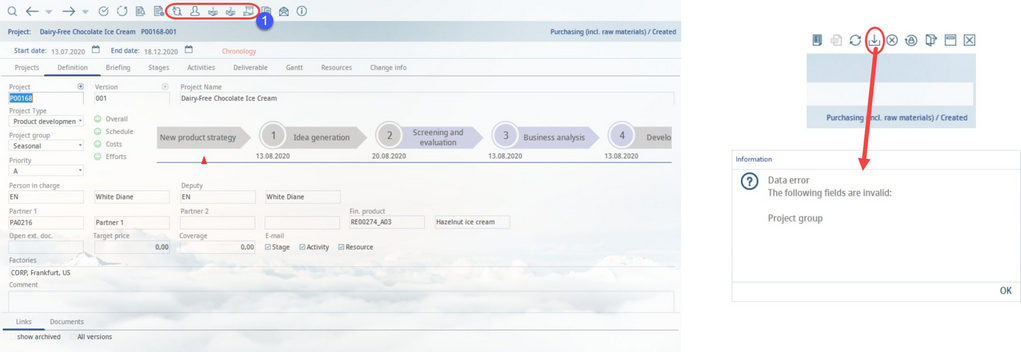
1)Go to the Project module and open the Definition tab. Click on the + button or the icon in the toolbar to create a new project.
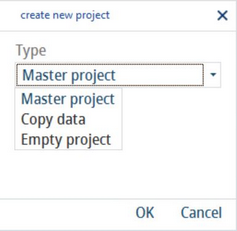
2)The project identification number is inserted automatically by SpecPDM. When creating a new project, you can choose to copy data from a previously loaded project into the new project, create an empty project, or a master project.
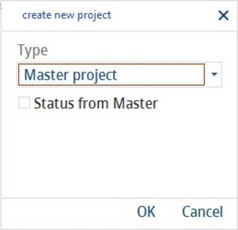
A Master project is a copy of an existing project when all the data has been adopted but the project manager or another responsible person is changed to the current user. Select the Status from Master checkbox to also adopt the processing status to your new project. This option can be enabled/disabled via Administration → Access level → Operating elements → Project → Checkboxes → New project - copy status from master.
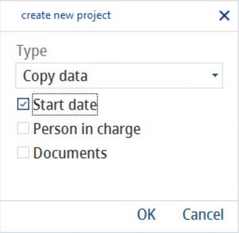
When copying data from the selected project, you can further specify if you also want to adopt the Start date, Person in charge and Documents attached using the designated checkboxes.
Enter a Name for the new project and define Project type and Project Group. Set Priority and select Factory. These fields are mandatory. You can further assign the personnel (person in charge/deputy), partners, and specify the finished product, etc. to the project by clicking on the buttons in the toolbar labelled 1.
3)Click on the Save icon to confirm the new project. If you have not assigned mandatory fields, you will be prompted to assign them at this point as displayed in the Information pop-up.
4)By right-clicking in the Definition tab, you can also change the dates associated with the project. These dates will display in the header of every tab of the Project module.
5)In the remaining tabs referenced in the previous chapters, add the information that is necessary to track and complete the project. You can also print reports in the Reporting module for your project.
