By using the Master Form Editor, you can organize criteria in multiple ways. Use these links below to jump to the appropriate section of this chapter.
•Enabling and disabling column types
•Maintaining connection to SpecPDM
There are two ways to insert new criteria:
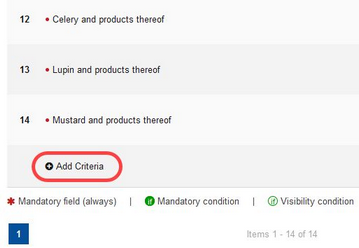
a) Use the Add criteria button at the end of the list of criteria. The new criterion will be added at the end of the list of criteria. This button is available after the last criterion of each category.
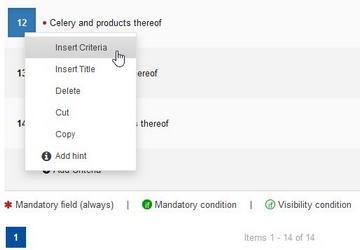
b) Right-click on the line number to display the context menu and select Insert Criteria. The criterion will be inserted in this line.
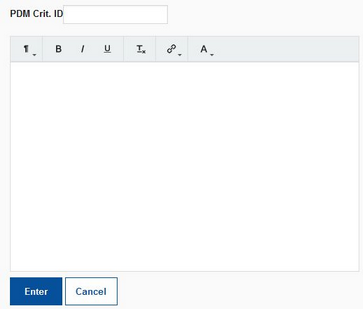
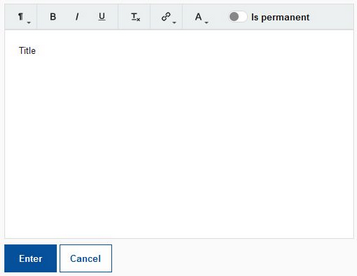
In both cases, you will be asked to fill in the criterion name. You can apply various formatting options. When finished, click Enter.
Now you have to enable at least one of the available responses (e.g. value, note, comment, etc.). Otherwise, the new item will be treated as a text and not as a criterion. For more information, see the section Response Types.
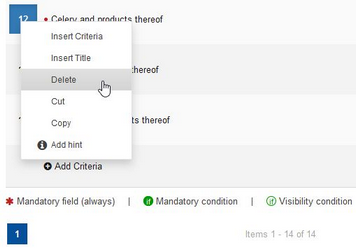
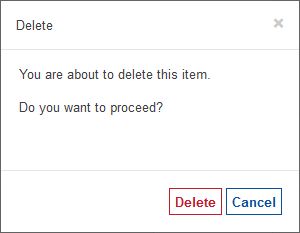
To delete a criterion, right-click on the line number of the criterion you want to delete and select Delete.
Confirm deletion.
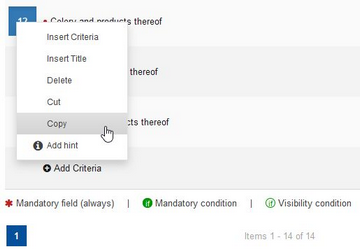
To copy a criterion, right-click on the number of the criterion you want to copy and select Copy.
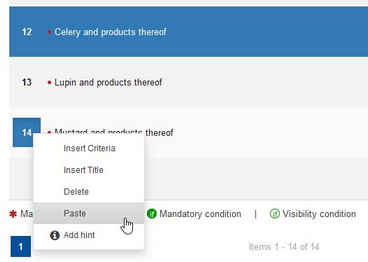
Right-click on the line number to display the context menu and select Paste. A copy of the criterion will be inserted in this line.
To move a criterion, right-click on the line number of the criterion you want to move and select Cut. Then right-click on the line you want to move the criterion to, and select Paste.
The criterion selected for copying or moving is highlighted (pictured below).
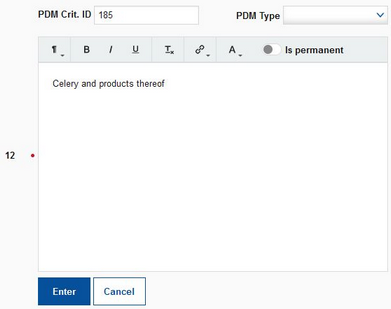
To rename a criterion, first click on the criterion name to open the text editing window.
Enter a new name. You can also apply various formatting options and also include links. When finished, click on Enter. If the Is permanent option is enabled, the criterion or title will always be displayed in the specification, regardless whether or not the criterion/title is included in the template created in the Templates Manager.
You can enter multiple lines for one criterion, e.g. if you want to add some additional description.
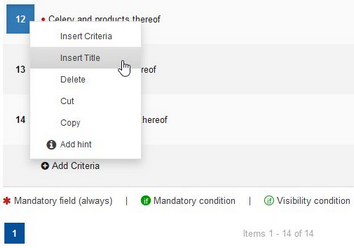
To add a title, right-click on a line number to display the context menu and select Insert title.
Enter the title. You can also apply various formatting options. When finished, click Enter.
The title will be inserted in the selected line. It is not possible to enter two succeeding titles.
Any criterion without at least one enabled column field (e.g. value, selection list, comment, etc.) will be treated as a line of text. Please see the example pictured below.
Enabling and disabling column types
Each form is meant to collect data about a product, company, etc. by means of using specific criteria with predefined response types. Response types are also called ‘column types’ in the Master Form import Excel file. These 'response types' represent the type of data to be requested for individual criteria. For example, the criterion temperature requires a value, whereas the criterion color requires a selection list with various colors to select from. Each criteria containing a category offers a specific set of responses which cannot be reduced or expanded. By using the template editor, you can turn the response fields on and off for individual criteria. Simply click on the field and its color will change between dark (on) and bright (off). When the response field is on, you may also see additional icons for "mandatory field, conditions and units," displayed next to the field.
To make a criterion mandatory, activate one of the response fields (see above) and click on the asterisk symbol ![]() next to this field. The asterisk symbol will turn red and a small red dot will appear in front of the criterion's name.
next to this field. The asterisk symbol will turn red and a small red dot will appear in front of the criterion's name.
Maintaining Connection to SpecPDM
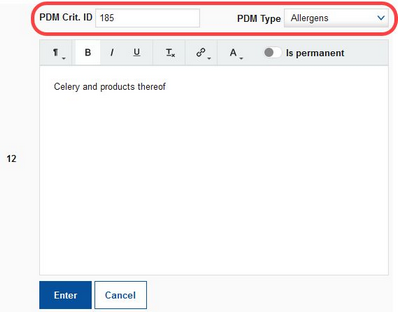
You can link a criterion from the template to a criterion in SpecPDM. To do so, click on the criterion name to open the editing window. You will see the SpecPDM ID of the criterion in the PDM Crit. ID field. The PDM Type selection is optional, but in some special cases, you may need to have the criterion in a different section in SpecPDM than in the Supplier's Guide. Use this selection list to specify the section in which the criterion is used in SpecPDM. Otherwise, data transfer would not be possible.
Note: This feature requires updating the interface.
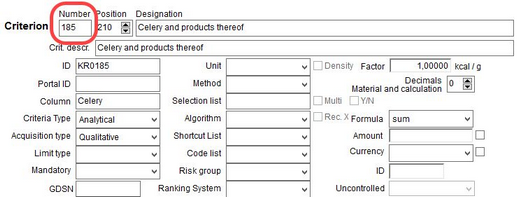
This PDM Crit. ID number refers to the criterion's ID which can be found in Administration/General/Criteria structure.
