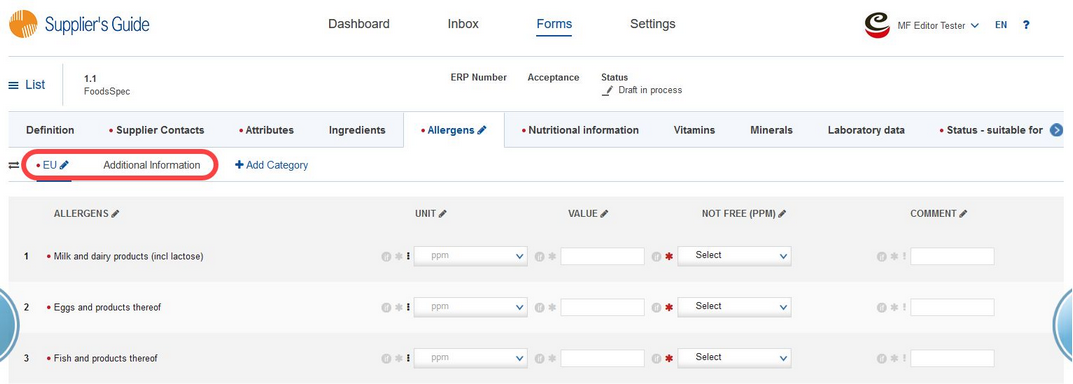
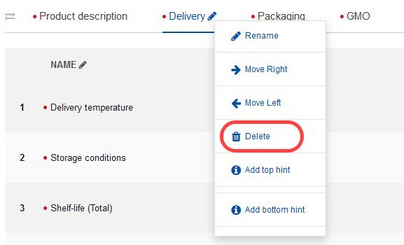
By using the Master Form Editor, you can create, delete, rename, and move categories that contain criteria.
To add a new category, click on Add category. Type the category name and press Enter.
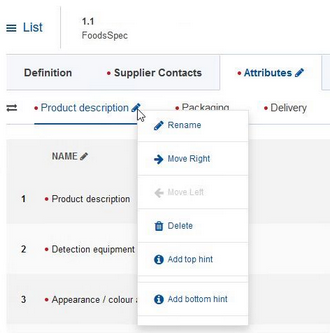
To rename a category, select the category you want to rename and click on the pencil icon ![]() next to its name. Type the new name and press Enter. Alternatively, you can right-click on the selected category and choose Rename.
next to its name. Type the new name and press Enter. Alternatively, you can right-click on the selected category and choose Rename.
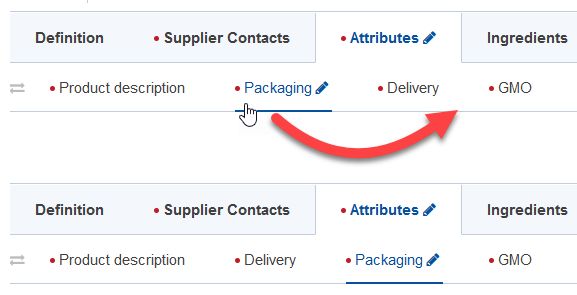
To move categories, click on the![]() icon at the beginning of the row. The icon will turn light gray
icon at the beginning of the row. The icon will turn light gray ![]() . Select the category you want to move and drag and drop it to a different position. Once you have reorganized the categories, click on the
. Select the category you want to move and drag and drop it to a different position. Once you have reorganized the categories, click on the![]() again.
again.
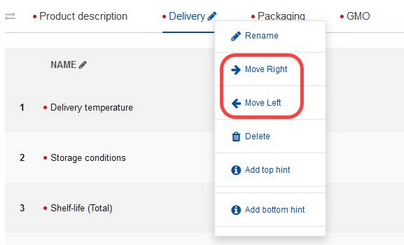
You can also right-click on the selected category and choose Move Right or Move Left.
To delete a category, select the category you want to delete, right-click on it, and choose Delete.
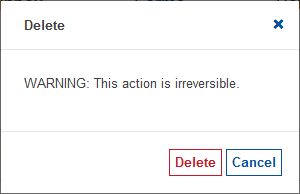
Confirm your decision.
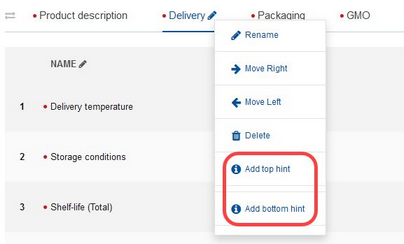
Use options Add top hint and Add bottom hint to add custom text at the beginning and at the end of the table. This can be used to leave various instructions to your business partner. For more information, see chapter Hints.
Please see the article Organizing Criteria for instructions on how to organize the contents of the categories. It is not possible to edit the contents of categories Definition, Contacts, Ingredients and Comments, as these do not contain any real criteria.
