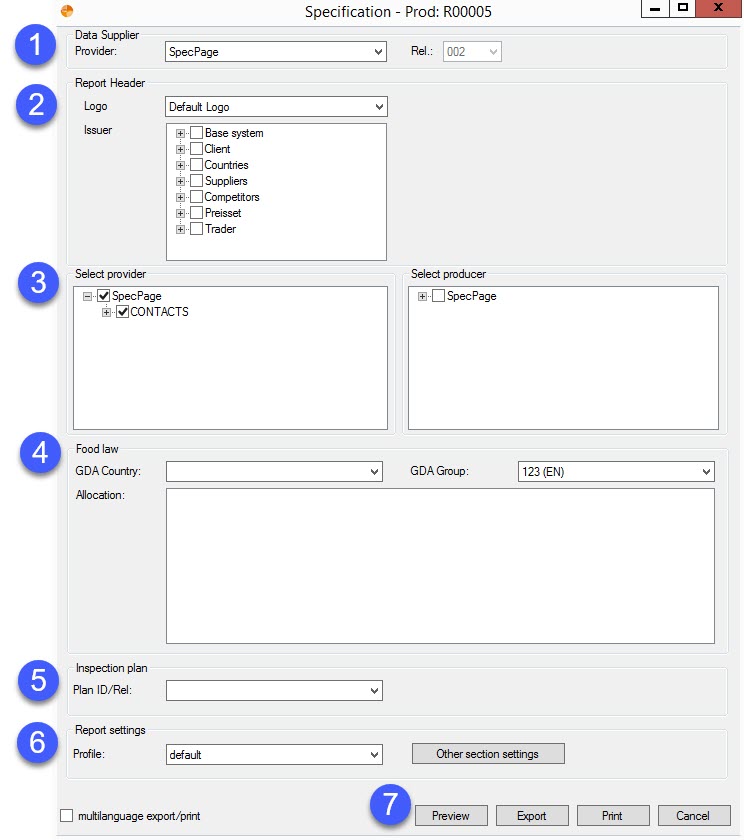
Selecting the Specification report type will reveal the following dialog:
The following descriptions will guide you to configure the Specification dialog properly:
1.Data supplier.
Provider: Select a data provider that will be used in the report.
Release: After the selection of a provider, all provider releases will be loaded. The last release is set as default; you may, however, choose from all available release versions.
2.Report header.
Logo: Select the logo that will be used in the header of your specification regardless of the selected user profile.
Issuer: Issuer's name used in the header of the specification. The selection is made from the Partner structure.
3.Select provider: A list of all provider contacts. To select one or more contacts, first tick the relevant provider. Only then you are enabled to select the contacts. You can mark the checkbox "CONTACTS" to select all existing contacts under that provider. In case you do not wish to print contacts, this selection is not mandatory.

|
Note: The particular provider will be printed/exported only when the selected profile has the relevant settings defined in General section. In case no provider is selected but the profile has the relevant settings, blank lines will be printed so the data can be completed afterwards. |
Select producer: To choose a producer, you have to tick the desired provider. Only after the provider has been selected, you are enabled to select contact(s). It is also not mandatory to select a producer.
4.Food law.
GDA country: Select a relevant GDA country.
GDA group: Select a relevant GDA group.
Allocation: An assignment selection is mandatory only in case one of the GDA or Declaration sections is printed, or you have defined that the ingredients should come from Declaration. You can also select more than one assignment; all will be printed in their particular section.
5.Inspection plan: Select from one of the inspection plans, created in the Inspection module. For more information, see Inspection Plan.
6.Report settings: The last section allows you pick a profile that will be used for reporting of the selected Master data object.
Profile: You may select one from the already created profiles or modify/create a new profile with your specific settings by clicking on the Other section settings button (described below).
7.See Reporting/Functions & Processes/Working with Basic Reporting Dialogs for more information.
Profile Management
If you wish to create, edit, or delete profiles, select the Other section settings button from the Specification reporting dialog.
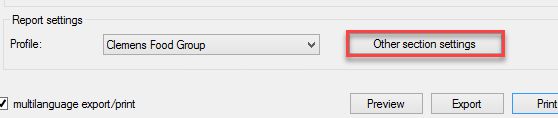
You will be presented with the following dialog, in which you may modify profiles:
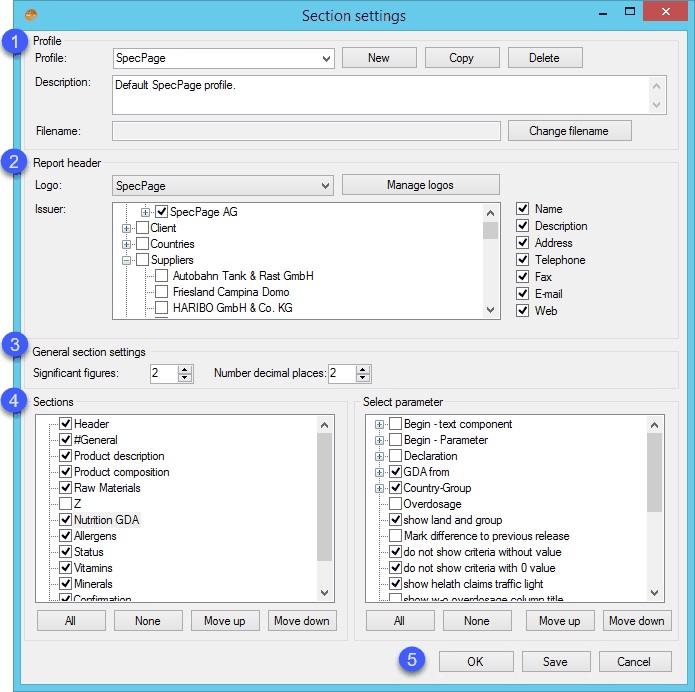
1.Profile: To set up the Profile section, see Reporting/Functions & Processes/Working with Profiles.
2.Report header: Select a Logo, Issuer, and relevant information from the checkbox menu. You may also click the Manage logos buttons to manage logos. See Reporting/Functions & Processes/Reporting Dialog and Logos.
3.General section settings: See Reporting/Functions & Processes/Functionality and Content of Sub-reports for more information.
4.See Reporting/Functions & Processes/Functionality and Content of Sub-reports for more information.
|
Note: Along with the usual functions explained in the functionality chapter, for an Attributes specification, you can choose to display multiple columns of a Master data record's Attributes tab. Choose the parameter Attributes - several columns to display the full tab's information. |
5.OK: Confirm changes.
Save: Save changes.
Cancel: Exit without saving.